Warwick Office Fit-Out
Step 1: Layout Marking and Steel Skeleton Assembly
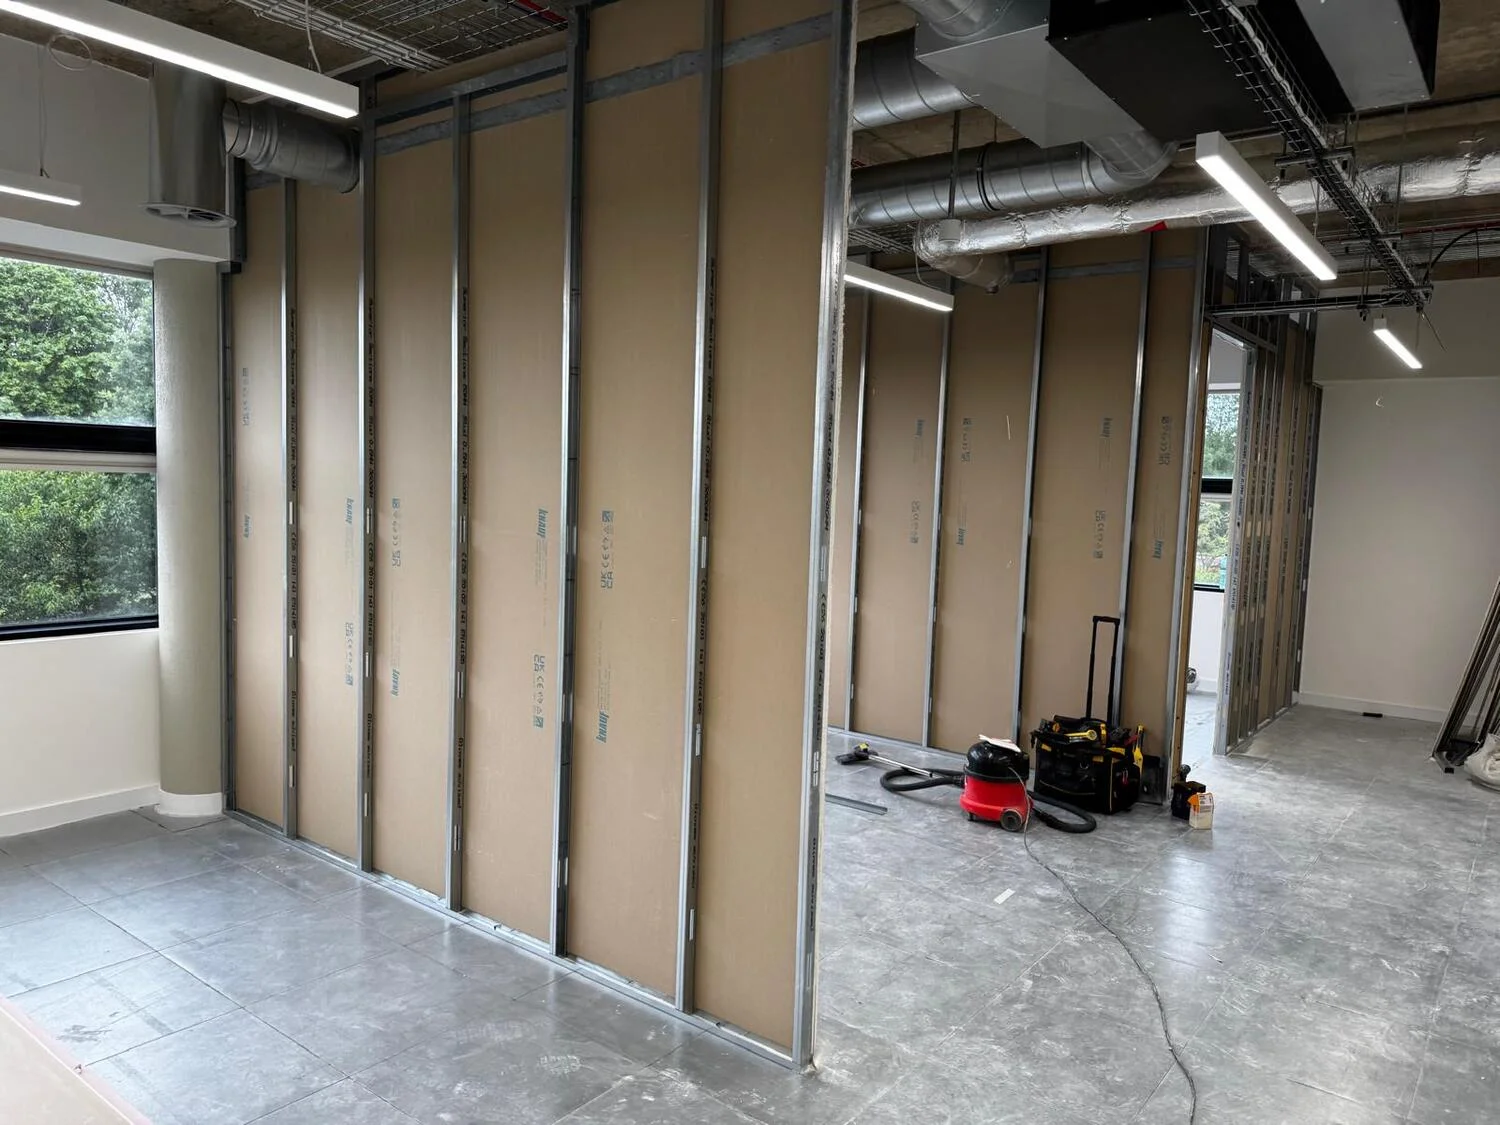
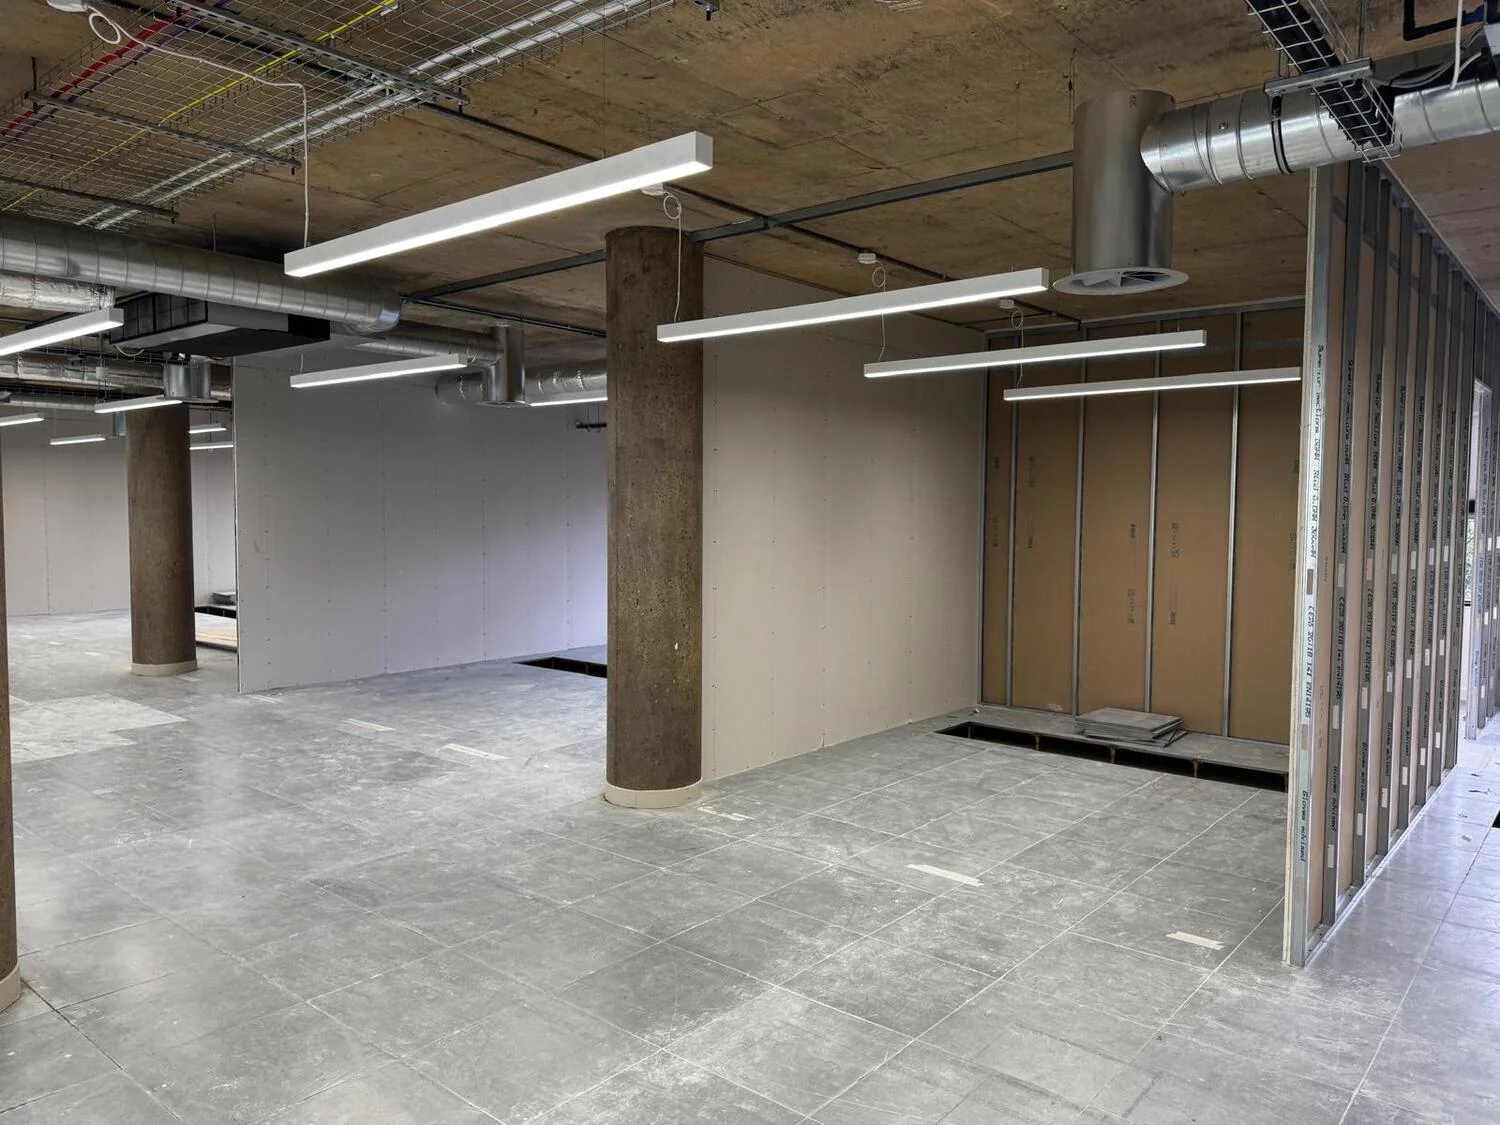
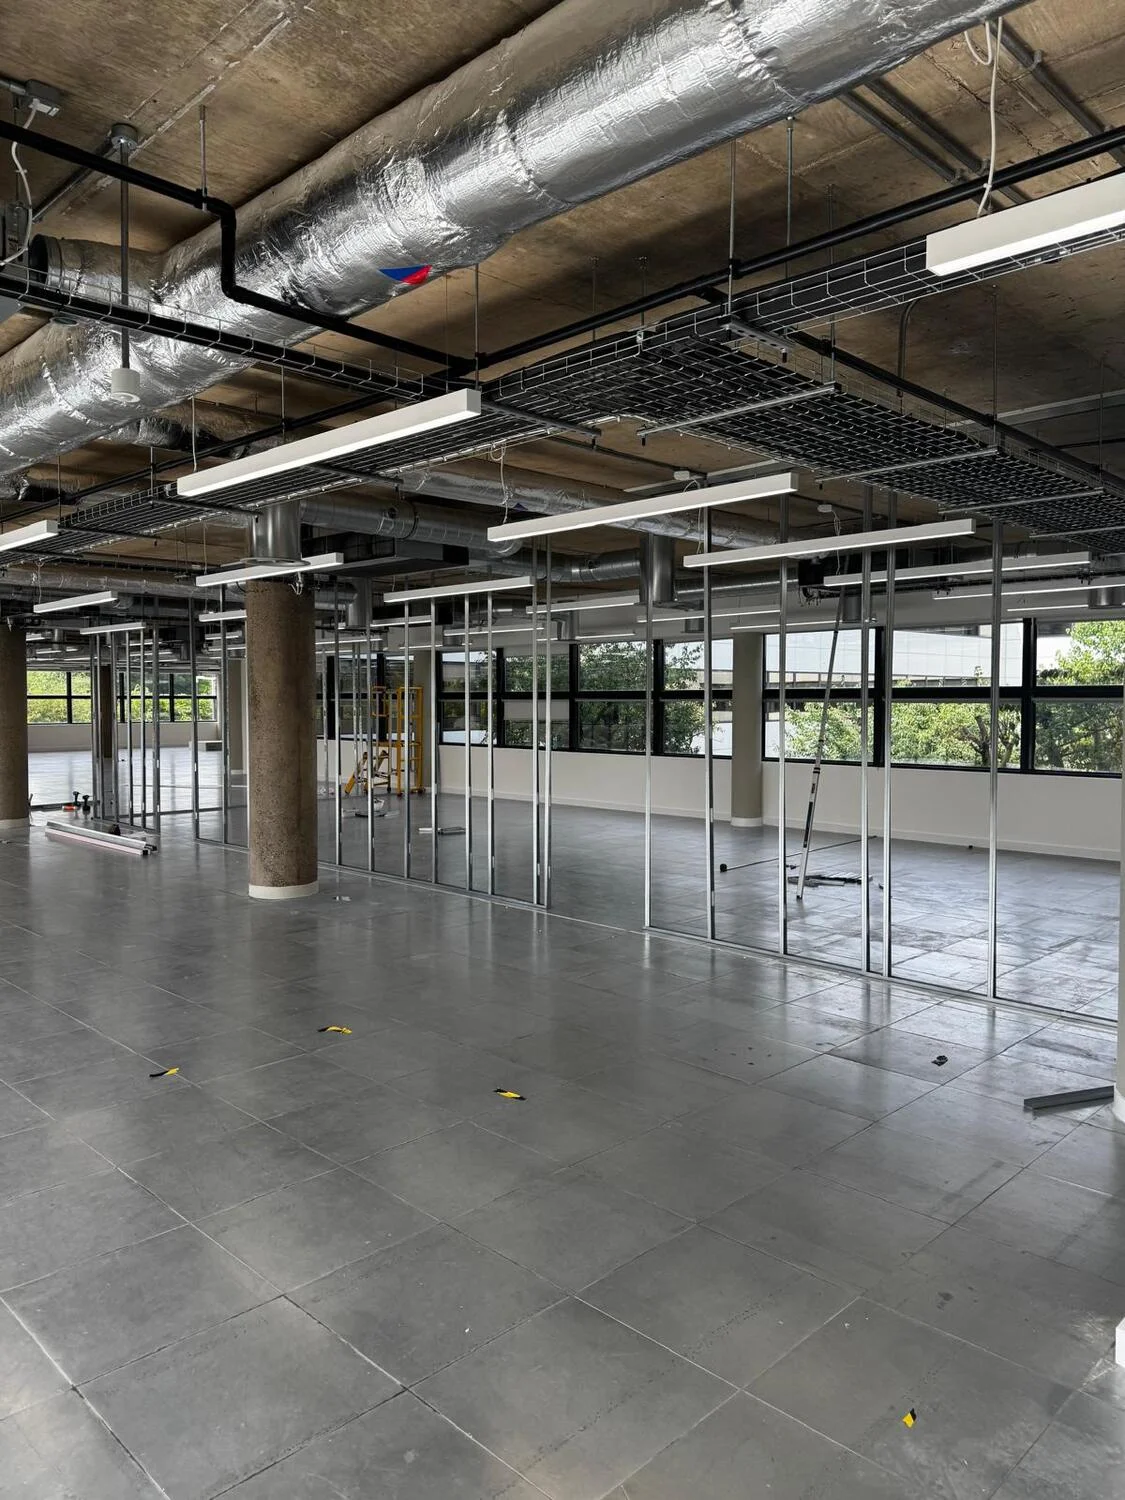
The works began with geometric site setting out and erecting the lightweight steel studding. These partitions outlined the designated office zones, private suites, and dropped bulkheads, followed by foundational panel boarding to form the structural footprint of the interior.
Step 2: Sound Attenuation and Full Enclosure
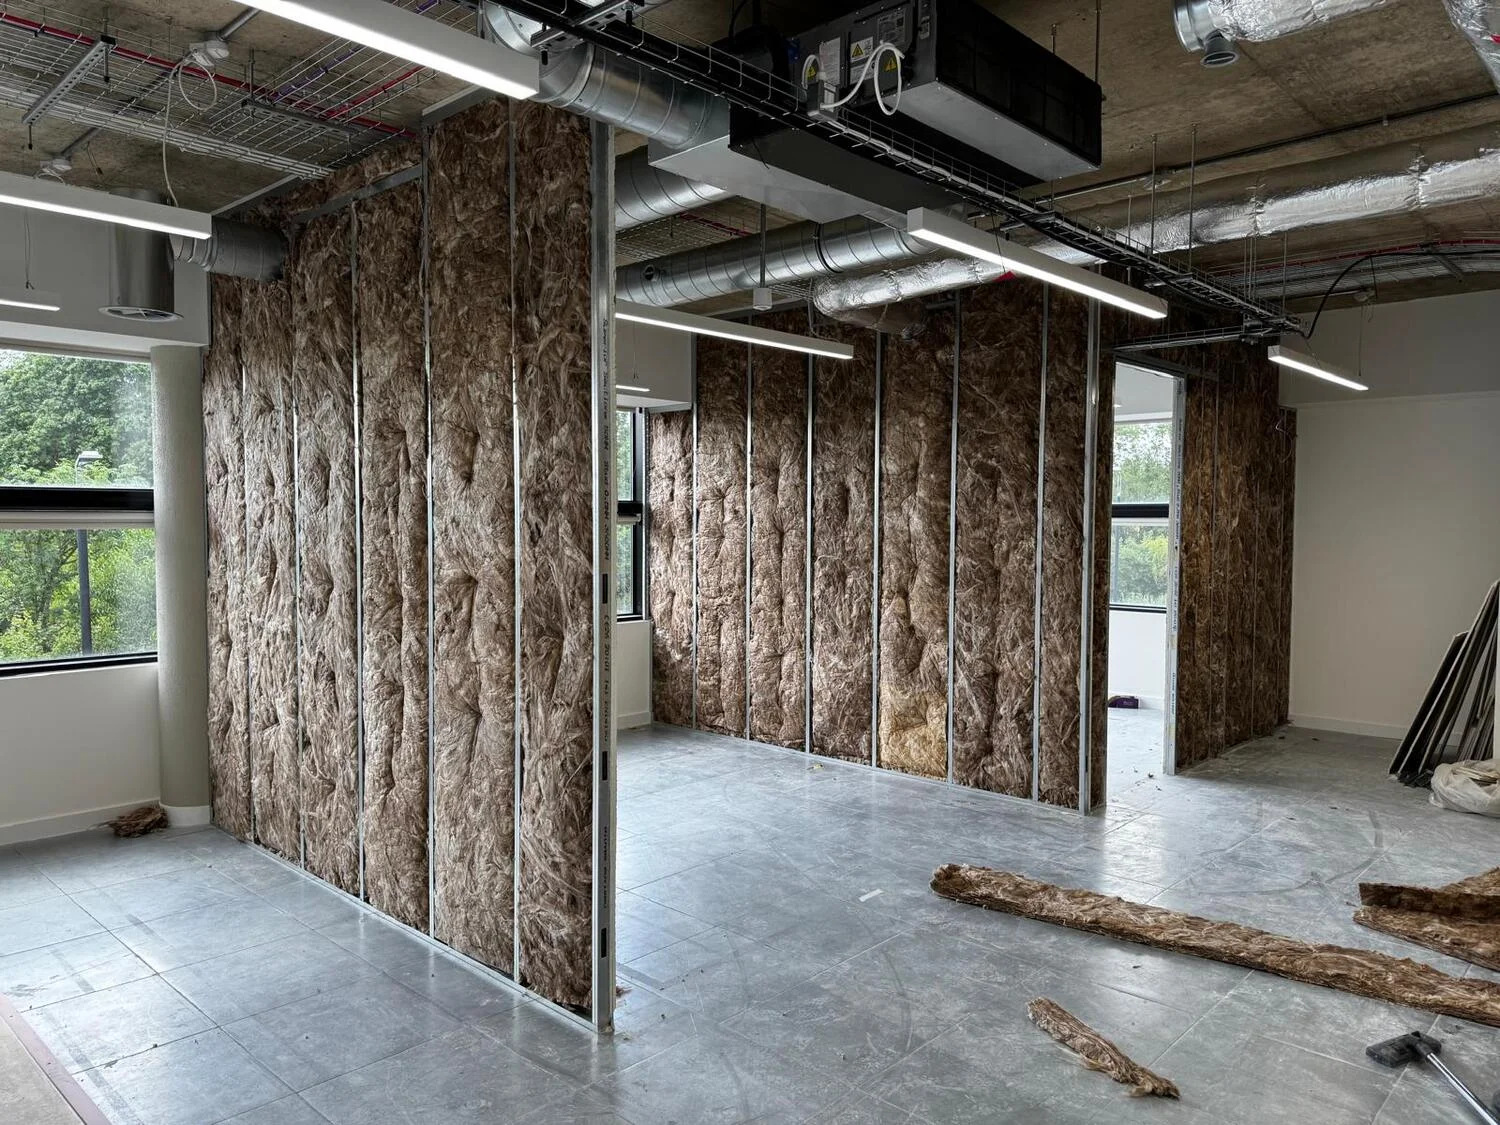
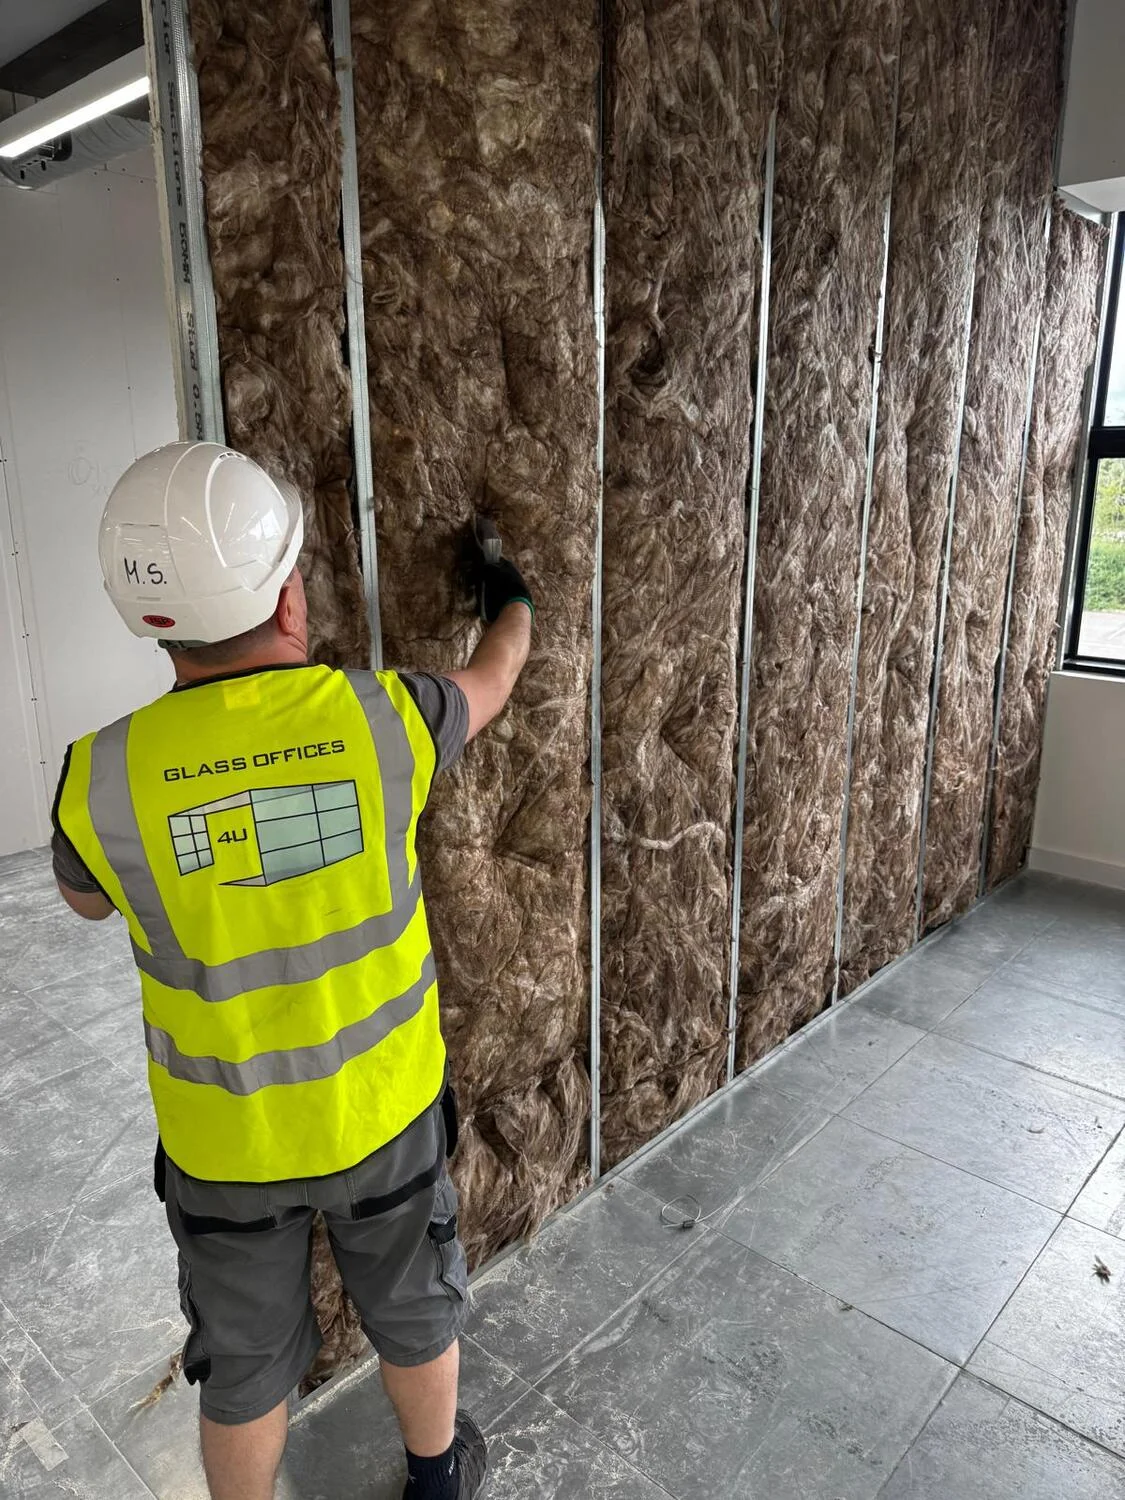
Once the skeleton was secured, dense acoustic mineral wool was inserted between the studs to maximize noise control throughout the workspace. The team then completely encased the walls, crafting the ceiling bulkheads, service recesses, and doorway apertures according to the architectural blueprints.
Step 3: Joint Finishing, Paintwork, and Glazing Channels
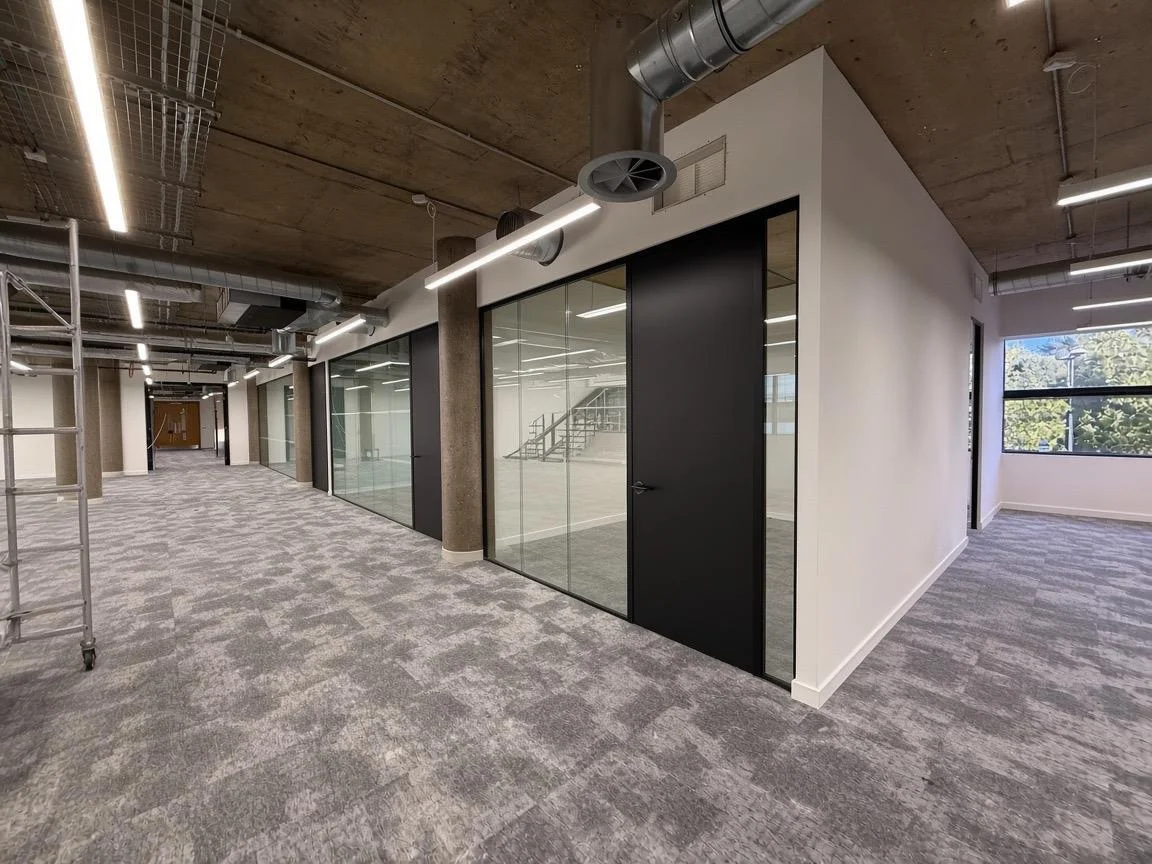
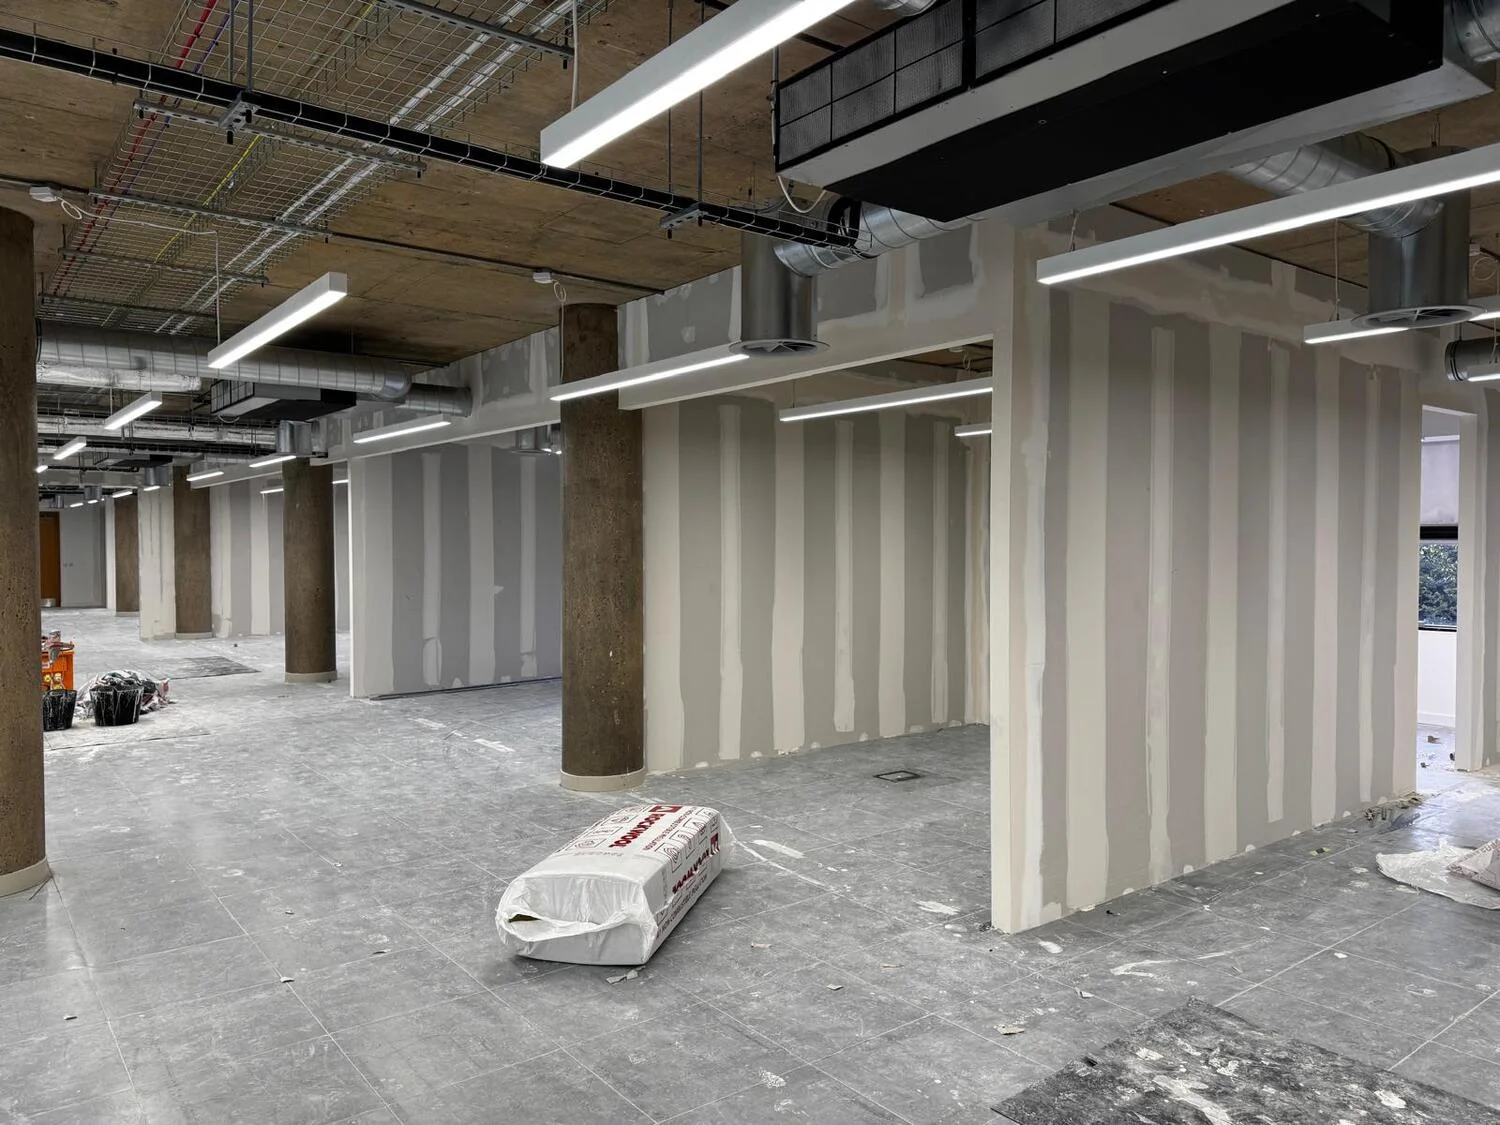
With all plasterboard sheets secured, the drywall joints and bulkhead details were taped and filled to achieve flat, blemish-free surfaces. Decorators subsequently applied the specified paint schemes, while technicians aligned and anchored the aluminum perimeter channels in readiness for the glass panels.
Step 4: Glazed Elements, Door Sets, and Precision Detailing
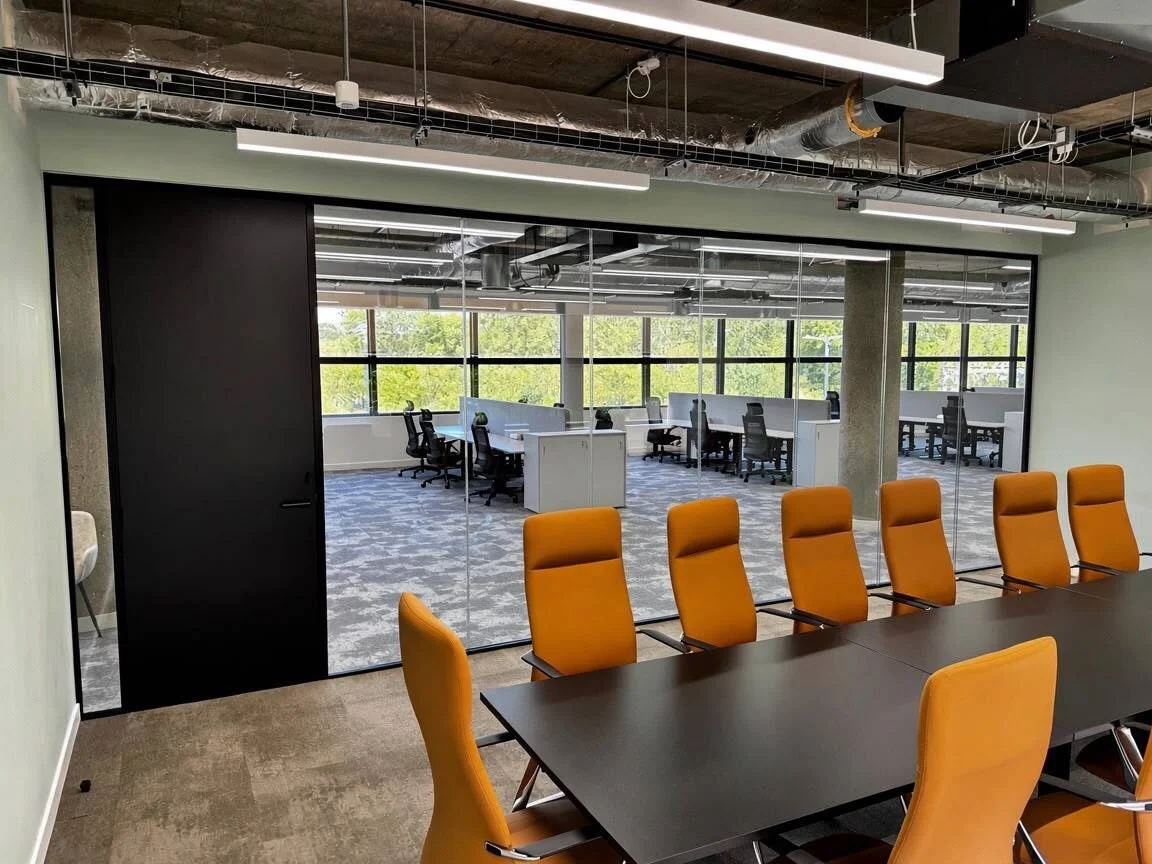
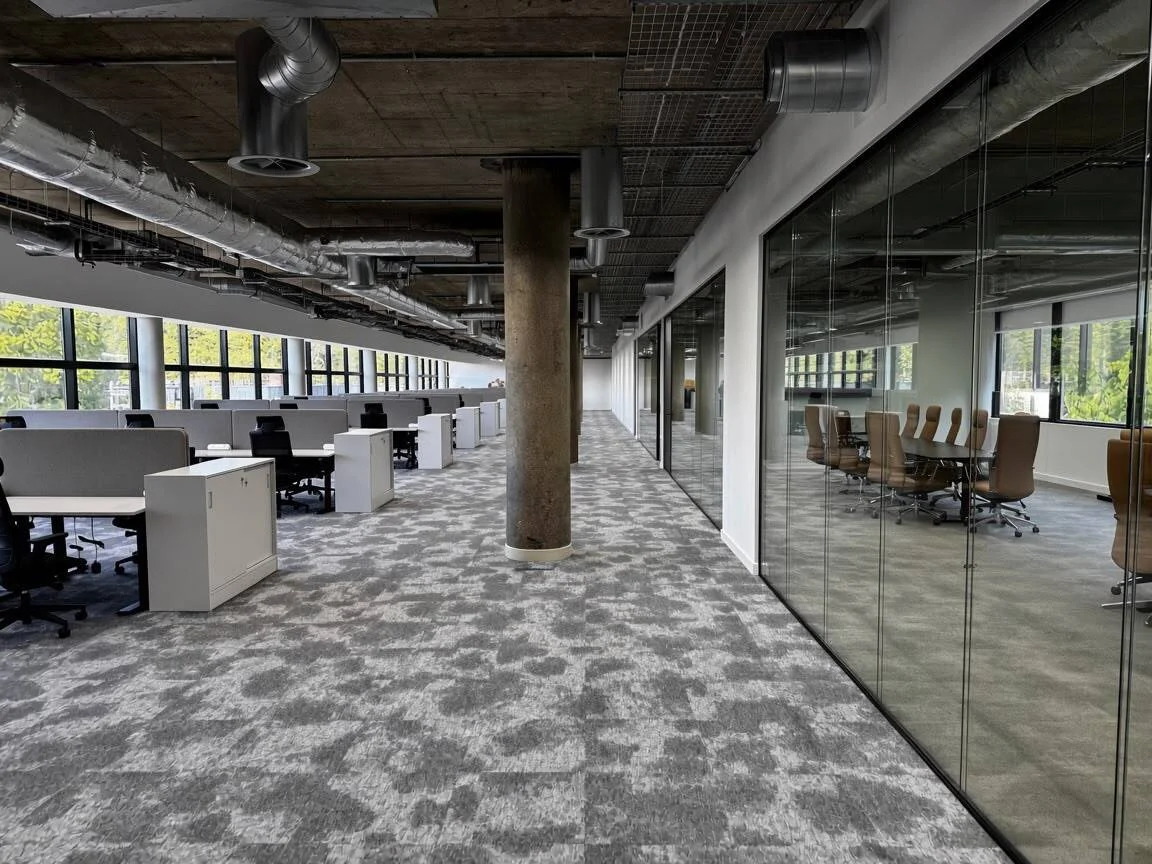
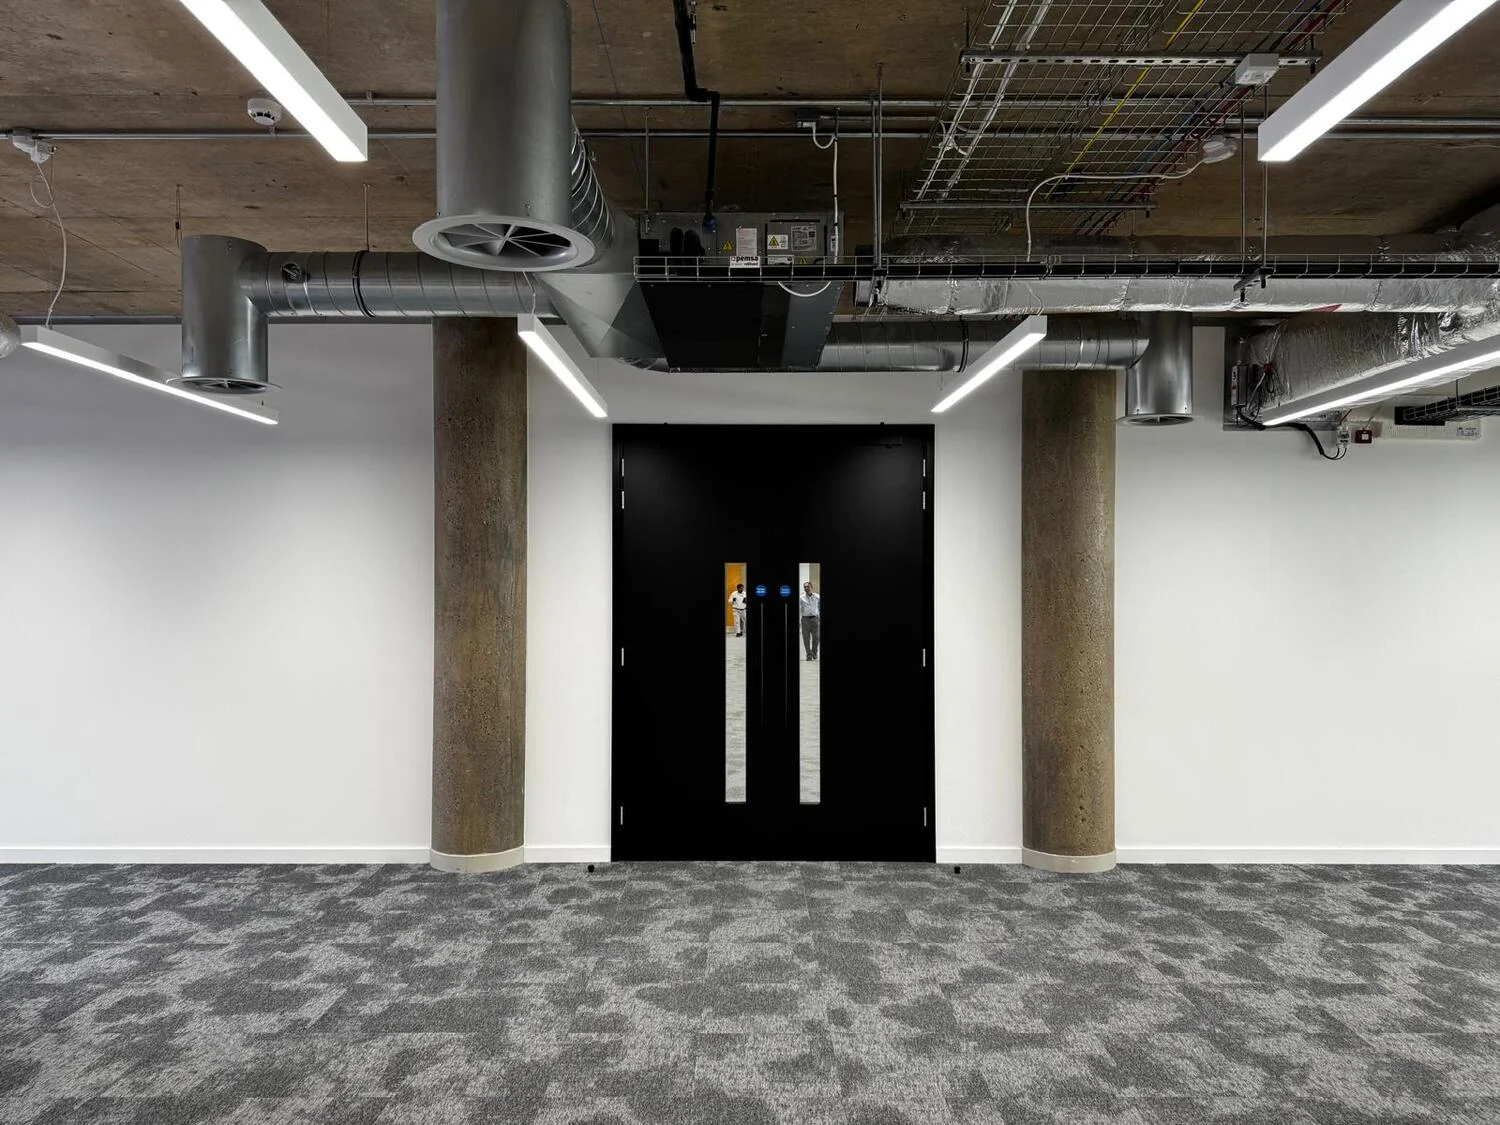
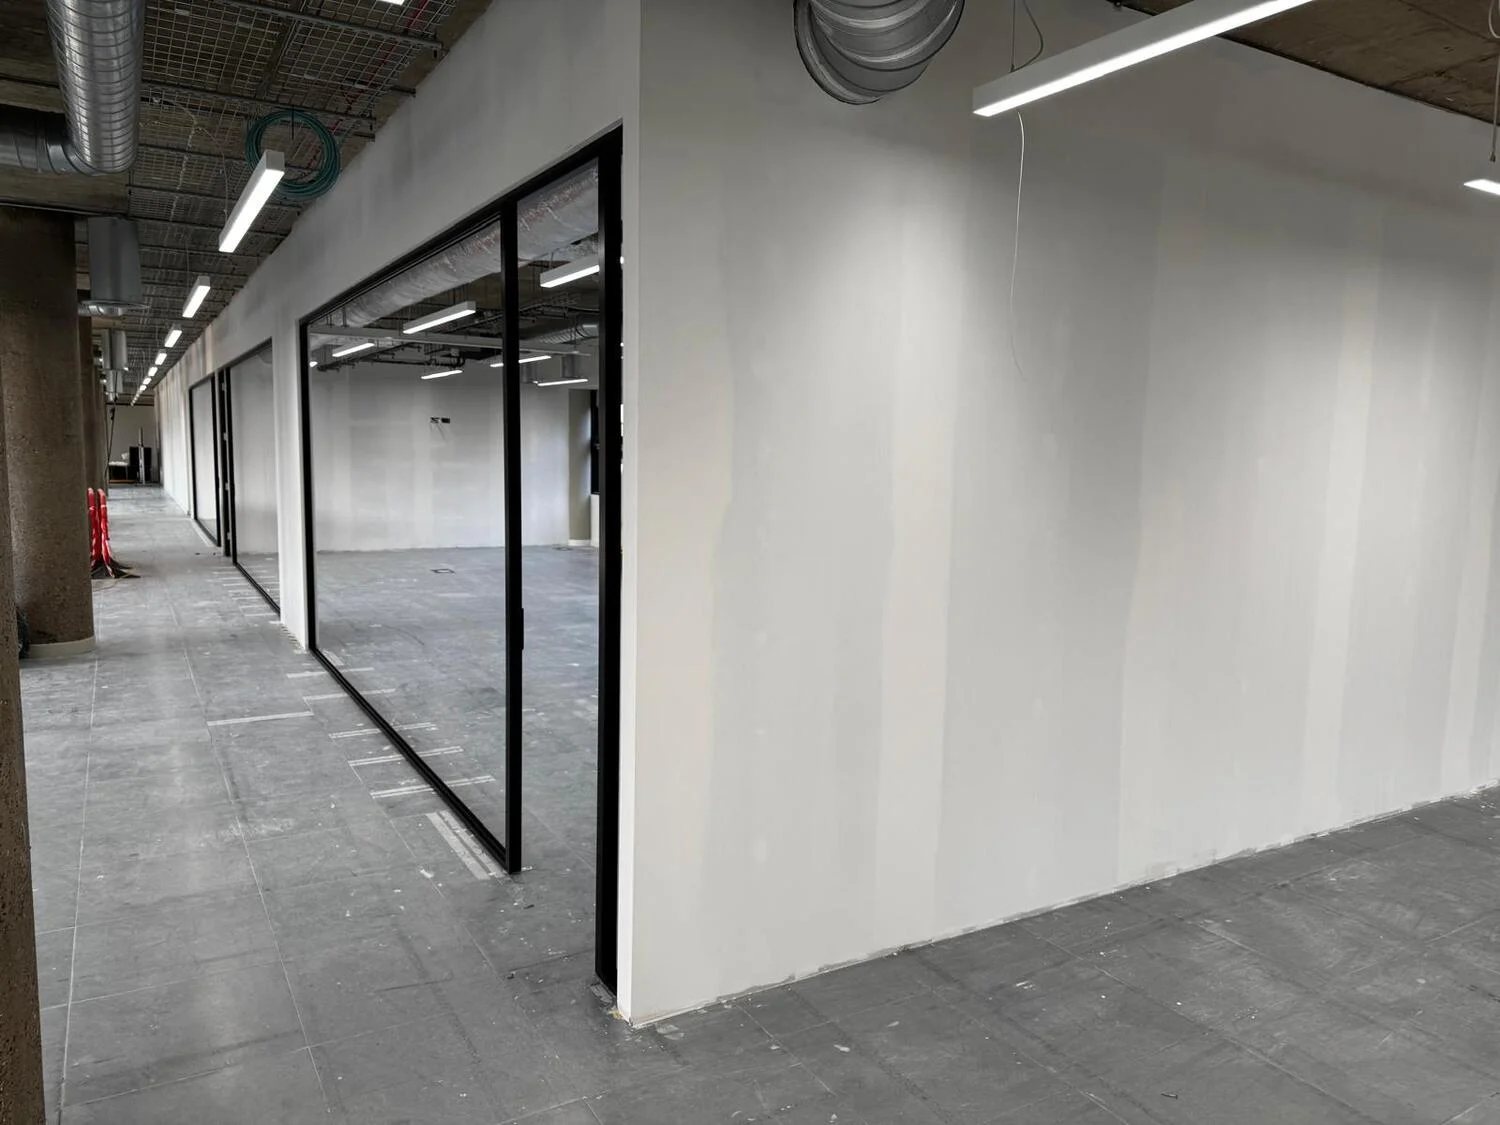
The fit-out concluded by installing the acoustic glass panels, hanging internal timber doors, and mounting certified fire-door assemblies. All door hardware, closers, and handles were fixed, followed by final adjustments and quality inspections to ensure strict alignment with the project criteria.